Getting 5.1 Surround sound on Windows with Dolby Digital Live APO Driver
Updated: July 2, 2025 at 01:39 PM
3 min read
To enjoy Multichannel Dolby Digital Surround Sound via HDMI without the need of passthrough (when we watches multichannel non Dolby digital stream), then we need some software to encode PCM/regular codec audio to Dolby Digital. We need to install an APO driver.
APO driver (audio processing objects) is a 3rd party driver that will allow the use of sound enhancers application such as Dolby Digital Home Theatre.
Dolby Digital Home Theatre will handle upmixing (converting stereo, 2.0 channel content to your 5.1 channel sound system) or downmixing (7.1 channel content to your 5.1 channel sound system). This is a huge win as a content enjoyer. With the help of Firefox (or Chromium-based browser if you don’t mind changing passing some command line to enable multichannel audio support) now we can enjoy anything with our 5.1 channel sound system with Dolby Digital. So, not only the Front Left and Front Right speakers our chiming, now we can enjoy the FULL experience.
This is where we install APO Driver from puresoftapps. We also need to download FX configurator to enable the GUID, so then the Dolby Digital tab on the Sound settings tab on Windows can show up. In this tutorial we’re going to choose Dolby Home Theatre 4 (PCEE4 7.2.8000.17) as our Sound Enhancer (read: Sound encoder). Let’s start with the ingridients:
- APO driver can be downloaded here: https://www.mediafire.com/folder/yo22yd2x2fzcz
- PCEE4 Sound Enhancers can be downloaded here: https://www.mediafire.com/folder/j17n6feipr6w7/PCEE4
- FX Configurator can be downloaded here: https://github.com/alanfox2000software/FXConfigurator/releases
Now let’s go and start the installation process:
- First, we need to download and install the APO driver.
- After installing, open the APO driver configuration app. Make sure to check the checkbox “APO Driver” and “Dolby PCEE4 7.2.8000.17“. After configuring the APO driver, it will download and install itself on the PC.
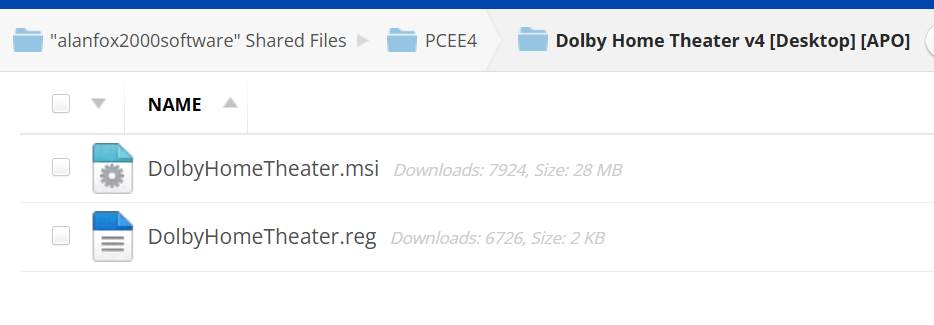
- Now, we need to install the Dolby PCEE4 configurator app itself. Make sure to download the “DolbyHomeTheater.msi” and “DolbyHomeTheater.reg” file inside the “Dolby Home Theater [Desktop] [APO]” folder. Now we install these files.
- After done installing the files, now is the time to use FX Configurator software. Upon opening the app, make sure to select the current HDMI endpoint of your device. Mine is my TV “Skyworth TV”. Before doing any configuration, it’s best practice to do a registry backup.
- Now, go to the “Product Config Tool” and the Product we select is “3rd Effects Only” and “Dolby Home Theater v4 (HDMI/SPDIF)” then we click “Apply Product Settings to Selected Endpoints“. We can now close FX Configurator.
- Now, we head to Windows’s Sound “Playback” tab, and select our previously configured endpoint (in my case it was “Skyworth TV“). We must see “Dolby” tab ready to go. If you can see this, Congratulations. It means we successfully installed Dolby Digital APO on the PC. As a final step, we need to go to the “Advanced” tab and as the default format, we must select “Dolby Digital”. This makes Windows to forward ALL AUDIO through Dolby Digital before it goes through the endpoint.
- Congratulations! Now we have successfully installed Dolby Digital Live. You can go to the Dolby tab to configure how you want your sound system to sound.
Full Documentation:
https://alanfox2000software.github.io/doc/apo-driver/main.html
Source link:
https://puresoftapps.blogspot.com/2018/04/realtek-apo-driver.html